
CLICK ON THE PICTURE TO DOWNLOAD
So yesterday I gave away a set of brushes I called, "Defining Thoughts". I received a few emails wanting to know how I made them, so I thought I'd share my process with you. Today's freebie includes the brush we're going to create together in this tutorial, plus a bonus alternate version. Keep in mind that I am using Adobe Photoshop CS4, so you may have to make adjustments.
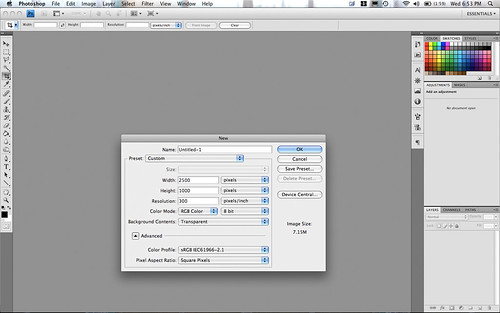
Create a new document with the following measurements:
Width: 2500px
Height: 1000px
Resolution: 300
Background Contents: Transparent
A brush can be a maximum width or height of 2500px, so we're going to go all the way.
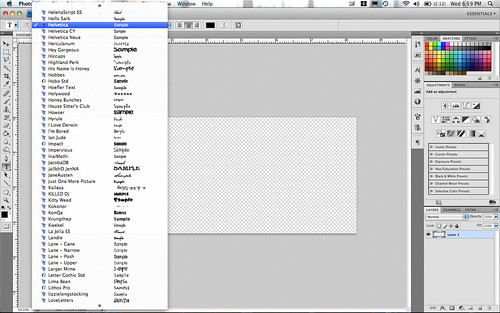
Grab your Text tool (PC: Ctrl + T / MAC: CMD + T) and choose a sans serif font. I'm using Helvetica Bold, but something like Arial will work. DaFont.com is a great resource for free fonts.
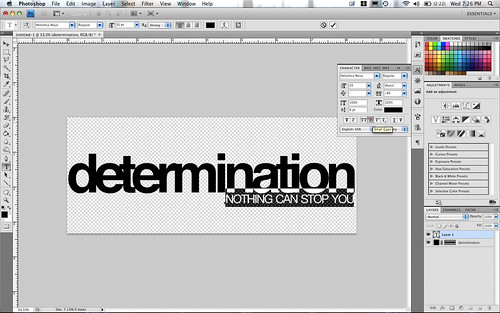
Type out the word "determination" in lower case letters and set the type.
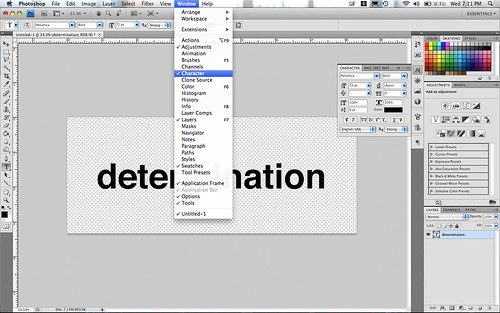
Go under Window and make sure to that Character is checked and open the Character palette.
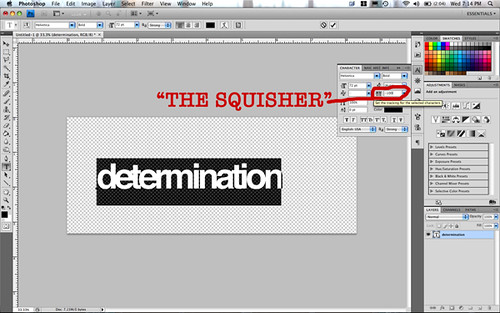
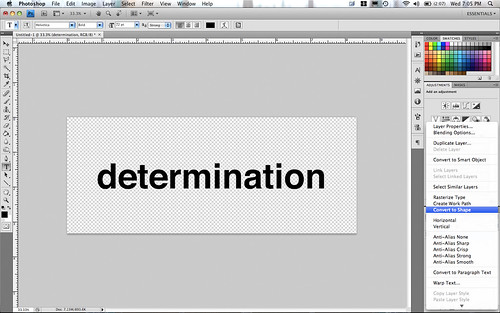
Highlight the word and in the character palette, we're going to move the letters closer together. I have no idea what that little feature is called, so I'm going to call it, "The Squisher" because that's exactly its function in this case! I used -100, but depending on your font you may need more or less. Hit the check mark to commit the type.
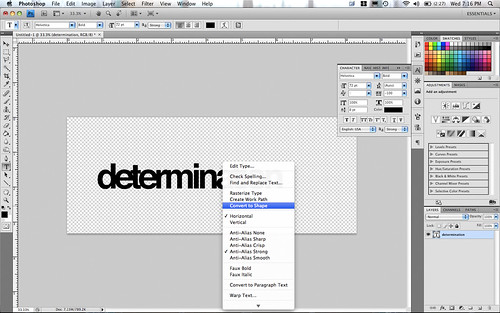
Right click on the word and choose, "Convert To Shape". This now converts the text to a shape and gives you a crisp looking word no matter how large you stretch the font. You could even save the shape and use it again in the future.
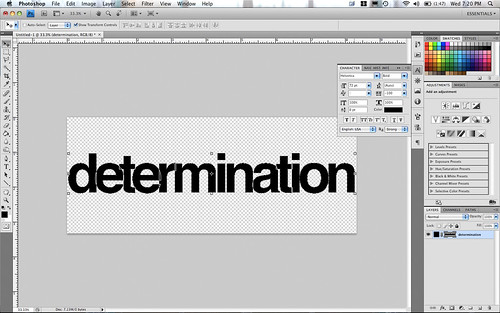
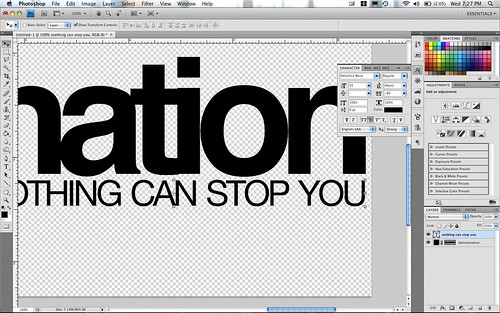
Stretch the text to fit the document by holding down the Shift and Alt keys. This will keep you from having distorted text. Your text should be quite large and fill the document.
Now we're going to write the phrase below "determination". Select the Text Tool again (or hit the letter T as a short cut). Select another sans serif font. This time I'm using Helvetica Neue Regular. My font size is 35pt and I've changed "The Squisher" to -80. Instead of turning caps lock on, check the TT feature in the Character bin. This will instantly turn your lower case letters in upper case. Type the phrase, "NOTHING CAN STOP YOU".
Move the text to the far right and line it up under the last letter. Looks pretty sweet so far, doesn't it?
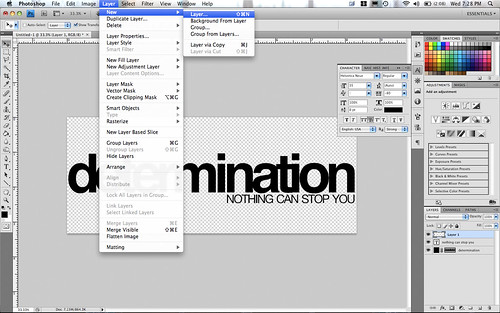
Now we're going to draw the lines, so create a new layer.

Select the Custom Shape Tool (hit the letter U for a shortcut) and then select the line tool. My line weight is 20px. Hold down the shift key and draw a line spanning the width of the document.
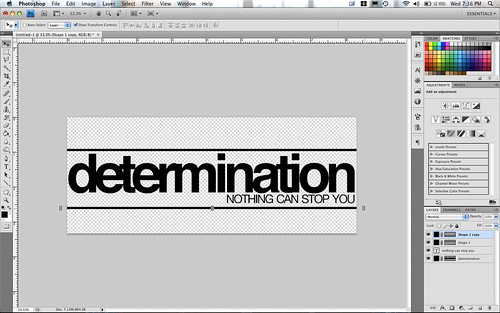
Now hit CTRL + J (CMD + J for MAC) to duplicate the layer. Hit V to select the move tool. Hold down the Shift key and drag the duplicated layer below the text. Feel free to move your lines around to get them just right.
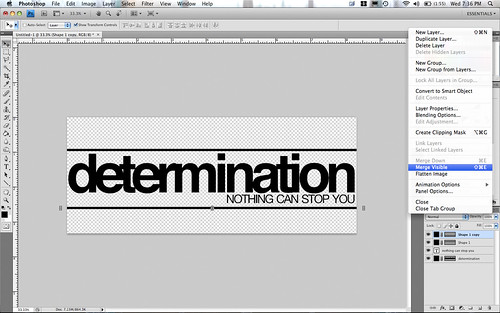
Select "Merge Visible" from the drop down menu in your layers palette.
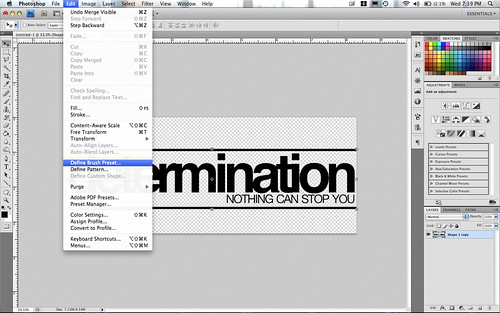
Now, you can trim away the extra pixels if you'd like and save it as a PNG file. For now though it won't matter be we're now going to turn this bad boy into a brush. Go up to EDIT and select "Define Brush Preset".
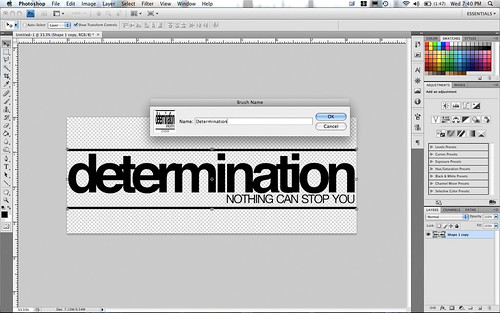
Create a name for the brush - I called it Determination - and hit OK. You now have a brush!

Select the Brush Tool (hit the letter B for a short cut) and you'll see that your brush is loaded and ready to go!
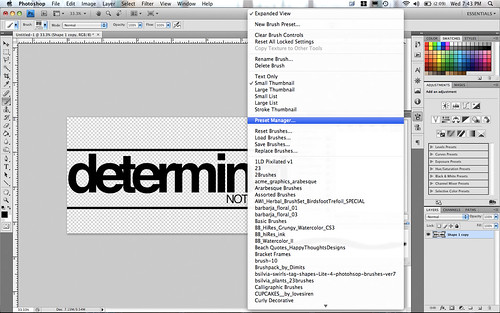
To save your brush, select Preset Manager from the drop down menu on your brush palette.
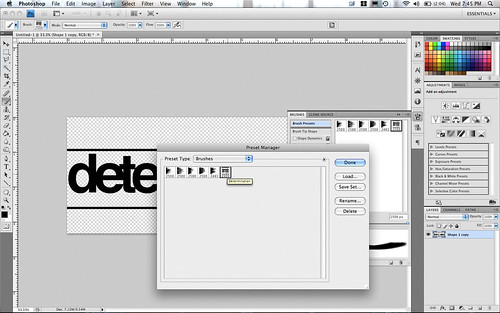
Highlight the brush (or brushes) you want to appear in the set. Hit Save Set, create a name for your group of brushes, and save them in your brushes directory.

Now you can go wild - try different fonts (I used Jane Austen and American Typewriter here) and change the line. You are only limited by your imagination!


Thanks so much for sharing your talents with us. Your word art brushes are fantastic!
Kristy
Thank you so much for this Freebie. I want to let you know that I posted a link to your blog in Creative Busy Hands Scrapbook Freebies Search List, under the Photoshop/Gimp Resource(s) (Brush(es), Swatch/Palette, ...) post on Jun. 04, 2009. Thanks again.
Oh Erin, thank you so much for all your freebies and tutorials. I really really appreciate it (especially the tutorials :-) )
hugs
Post a Comment
I appreciate what you have to say. Thank you for taking time to leave a comment :-D!
~ Erin